

How to Install a Cat Net on Your Balcony Without Drilling - Using Telescopic Rods
Many landlords prohibit it, and many balconies simply do not allow it: drilling. But that does not mean your cat has to miss out on safe outdoor time. With the right telescopic rods and matching accessories, a cat net can be installed securely, stably and without a single hole in the wall - on almost any type of balcony.
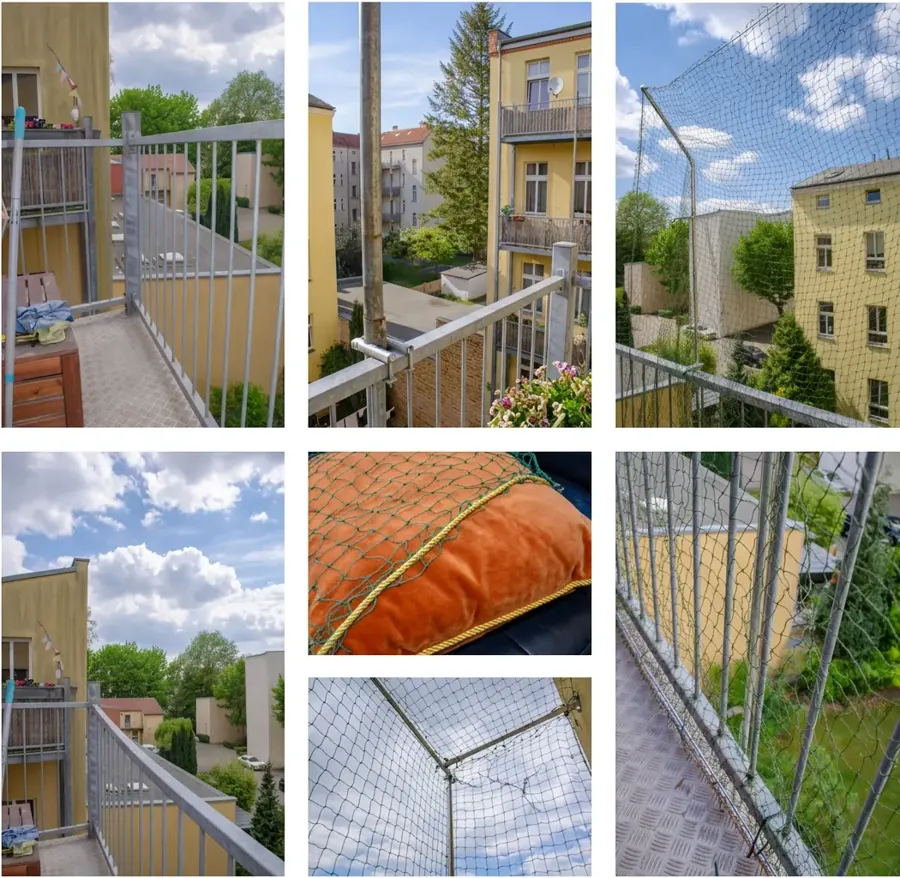
On this page we show you exactly what the installation looks like: for the classic floor balcony, for freestanding balconies and for balconies with round or square handrails. We also explain which accessories you actually need - and what to look out for when buying.
Why Without Drilling - and Does It Really Work?
The short answer: yes, and permanently. BOY telescopic rods made from stainless steel are engineered to provide a firm, weatherproof hold without a single wall screw. The principle is straightforward: the rods are either clamped to the balcony handrail or tensioned between the floor and ceiling - depending on your balcony type and personal preference.
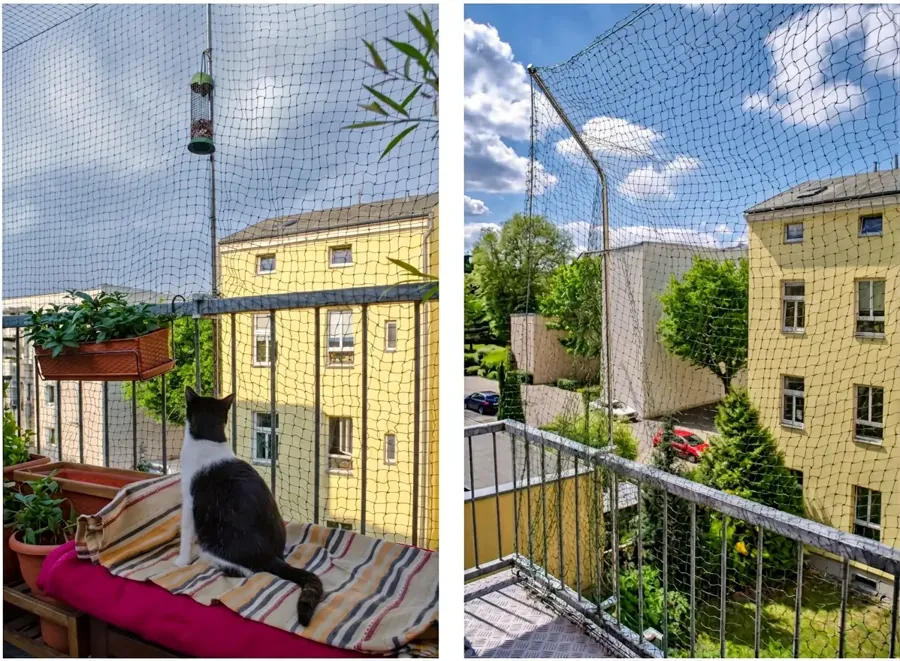
Cats love exploring their surroundings. Give your companion the freedom to spend time safely on the balcony with our BOY cat nets. With the right mounting accessories, the whole setup is done in no time.
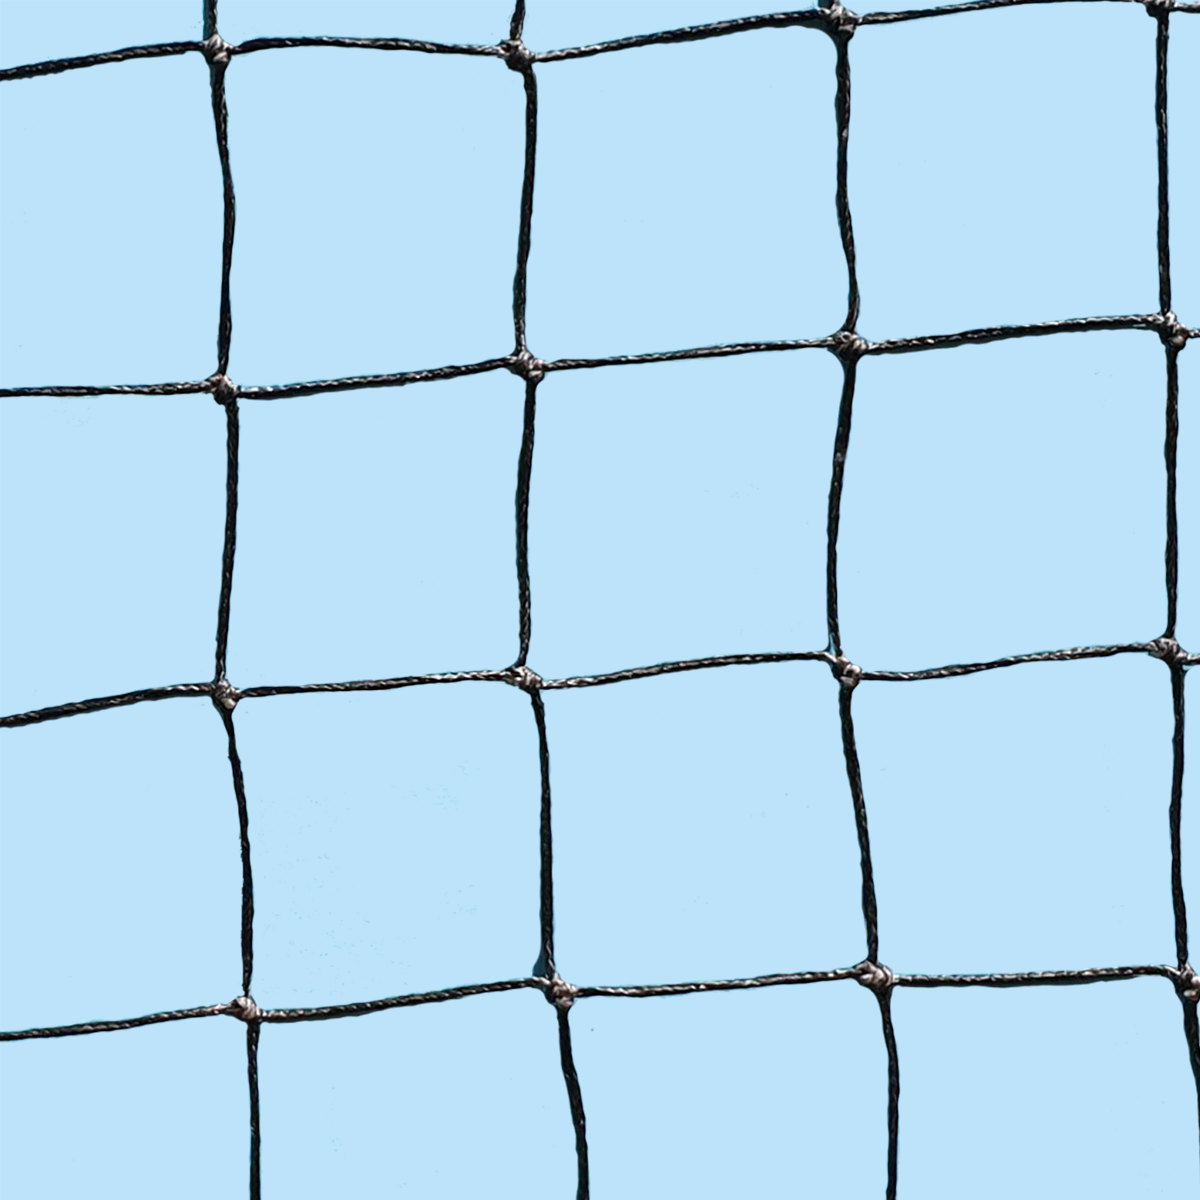
Our tip: Nets in darker colours (olive green and black) blend in far better with the facade and are barely noticeable from outside.

Option 1: Floor Balcony - Mounting on the Handrail
On a floor balcony, your cat can observe everything happening around the building. To let her out without worry, the balcony needs to be secured with a BOY cat net. The simplest and cleanest solution without drilling is to attach the telescopic rods directly to the balcony handrail - using specially designed brackets.
Step by Step: Floor Balcony with Handrail Bracket
- Measure the handrail: Check whether your handrail is square or round and measure the edge length or diameter accordingly. BOY brackets fit square handrails with an edge length of 30-85 mm and round handrails with a diameter of 30-85 mm.
- Choose the right bracket: Select the telescopic rod bracket for square or round handrails - both are made from anodised aluminium and are permanently weatherproof.
- Attach the brackets to the handrail: The brackets are fixed to the handrail with two long screws. No drilling into walls or ceilings required. Space the rods approximately 2 m apart so the net does not sag too much later.
- Insert and adjust the telescopic rods: Insert the telescopic rods into the brackets and adjust the height steplessly. Lock the desired height in place using the locking screw.
- Thread the braided line: Weave the braided line in a spiral through the outer row of mesh of the BOY cat net. This prevents the net from sinking between the rods and ensures a clean, straight top edge.
- Attach the net: Secure the cat net to the telescopic rods using cable ties. The approximately 100 mm long, weather-resistant ties are designed specifically for our rods.
- Fit the climbing guard: To stop your cat from swinging herself over the top of the net, we recommend the climb-over protection - designed to fit our pull-out telescopic rods.
Option 2: Floor Balcony - Mounting with Tension Rods (Floor to Ceiling)
If your balcony has a concrete ceiling and a stone floor, tension telescopic rods are a great alternative. These are simply clamped between the floor and ceiling without any brackets at all - similar to a shower rod, but significantly more stable.
Important: Tension rods are only suitable for balconies with a stone or concrete surface. They are not appropriate for wooden floors or soft materials, as these cannot provide the necessary counter-pressure. Temperature fluctuations can cause the rod to loosen over time - check the tension regularly and re-tighten as needed.
- Adjust the rod to the ceiling height: The tension rod consists of three nested tubes (Ø 22 mm) and can be extended steplessly up to a ceiling height of 350 cm.
- Tension the rod: Use a spanner (M8) to turn out the tension foot until the rod has a firm hold. There is a fixing hole at the top for the braided line.
- Attach the net and line: Fix the cat net to the rod using cable ties (140 mm long). The braided line keeps the net taut at the top.
- Frame system (optional): For greater stability and a more even net tension, we recommend the frame system for tension telescopic rods.
Option 3: Freestanding Balcony Without Drilling
Freestanding balconies - those without a protective house wall on all sides - present a particular challenge, as the net needs to be tensioned all the way around. The same principle applies here: with the right accessories, a completely drill-free solution is possible.
The telescopic rod brackets are clamped onto the existing handrails. For the open corners, we recommend the frame system for pull-out telescopic rods, which connects the rods to one another and provides additional stability. The lead line along the bottom edge of the net prevents your cat from lifting the net from below and escaping.
Frequently Asked Questions about Drill-Free Installation
Is a cat net really secure without drilling?
Yes - provided the accessories match your balcony type and the telescopic rods are set up correctly. BOY stainless steel telescopic rods are built for long-term outdoor use and remain stable through wind and weather. Check the tension of the rods regularly, especially after temperature changes in winter.
Which telescopic rods do I need - tension rods or pull-out rods?
That depends on your balcony. Pull-out rods are attached to the handrail using a bracket and work on almost any balcony. Tension rods are clamped between the floor and ceiling - this only works with concrete ceilings and stone floors, but gives a particularly clean, bracket-free look.
My handrail is round - which bracket fits?
For that there is the telescopic rod bracket for round handrails. It is angled on the inner sides and grips round handrails with a diameter of 30-85 mm firmly and securely.
Can my cat climb over the net?
Cats are inventive - that is true. That is why we recommend the climbing guard, which is fitted above the net on the telescopic rod and prevents your cat from swinging herself over the top.
Can I simply take the rods down for winter?
Yes. That is one of the practical advantages of drill-free installation: all components can be dismantled without tools and stored away compactly. In spring, everything is back up and running in just a few minutes.

€6.45 /m²
Prices incl. VAT plus shipping costs

€17.95 /customFields.
Prices incl. VAT plus shipping costs

€34.95 /Piece
Prices incl. VAT plus shipping costs